Case IH Tractor ARM 59 Fault Code: Aux 4th Remote Valve Lever Potentiometer Failed
What ARM 59 Means
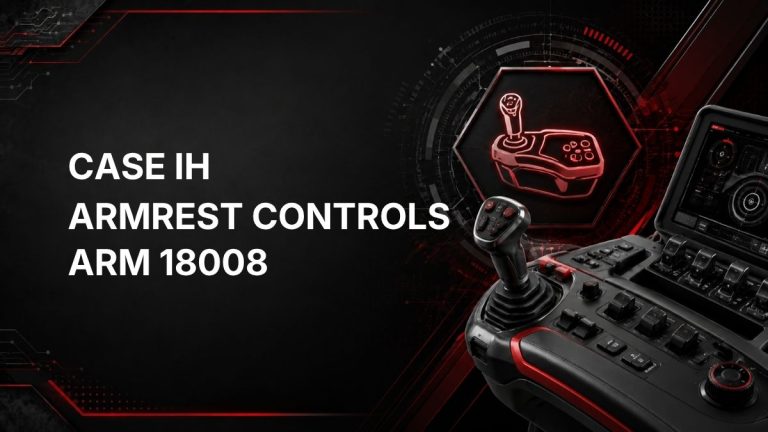
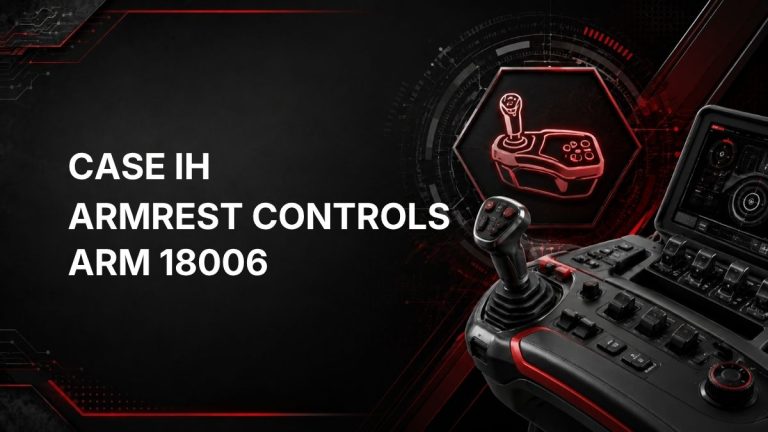
ARM 59 is a Case IH tractor fault code from the ARM controller, which relates to armrest controls.
The official description is: Aux 4th remote valve LEVER potentiometer is failed.
In practical terms, the tractor has detected a problem with the lever position signal for the 4th auxiliary remote valve. The potentiometer is the sensor used to report lever position to the control system. If that signal is missing, out of expected range, unstable, or otherwise not usable, the ARM controller may log fault code ARM 59.
This guide is based on the official fault description only. Exact component location, test values, calibration steps, and repair procedures can vary by tractor configuration and should be confirmed with the correct service information.
Likely Symptoms
Symptoms may vary depending on the tractor model, software, and hydraulic configuration. Possible operator-noticeable symptoms include:
- ARM 59 fault code displayed or stored.
- 4th remote valve control may not respond normally.
- Hydraulic function assigned to the 4th remote may be disabled, limited, or erratic.
- Armrest lever input may not be recognized correctly.
- Warning lamp, message, or diagnostic alert may appear.
The presence of the fault code does not by itself prove that the lever potentiometer is the only failed part. Wiring, connectors, power, ground, or controller input issues may also need to be checked.
Possible Causes
Because ARM 59 specifically refers to the Aux 4th remote valve lever potentiometer, likely causes to consider include:
- Failed or internally worn lever potentiometer.
- Damaged, loose, corroded, or contaminated connector at the lever circuit.
- Open circuit, short circuit, or poor connection in the wiring harness.
- Intermittent signal caused by vibration, moisture, or harness movement.
- Armrest control issue affecting the lever input signal.
- Less commonly, a controller input or software-related issue requiring professional diagnosis.
Diagnostic Checks
1. Confirm the Fault Code
Record the exact code shown: ARM 59. If other ARM, hydraulic, or controller-related codes are present, note them as well. Multiple codes can help identify whether the issue is isolated to the 4th remote lever circuit or part of a wider electrical problem.
2. Check the Operator Controls
With the machine parked safely, check whether the 4th remote lever moves normally and returns as expected. Look for obvious physical damage, binding, loose trim, or signs that the armrest controls have been exposed to liquid, dirt, or impact.
3. Inspect Connectors and Harnessing
Inspect accessible wiring and connectors associated with the armrest control area and the 4th remote lever circuit. Look for:
- Loose or partially seated connectors.
- Corrosion or moisture intrusion.
- Damaged insulation.
- Pinched, rubbed, or stretched harness sections.
- Previous repair work that may have created a poor connection.
Do not probe connectors or wiring unless you have the correct service information and suitable test equipment. Incorrect testing can damage electronic controllers.
4. Check for Intermittent Conditions
If the fault appears only sometimes, note when it occurs. Useful details include whether it happens during startup, while moving the lever, after rain or washing, during vibration, or when the armrest is adjusted. Intermittent faults are often related to connectors, wiring, or sensor signal instability.
5. Use Service Diagnostics When Needed
Dealer diagnostic equipment may be required to view live lever position data, confirm the ARM controller input status, clear stored codes properly, perform calibrations if applicable, and verify the repair. A qualified technician should be involved if the fault remains active after basic visual checks.
Repair Guidance
Start with safe, non-invasive checks before replacing parts. A practical repair approach is:
- Confirm the fault code and document any related codes.
- Inspect the armrest control area for obvious damage or contamination.
- Check accessible connectors for looseness, corrosion, or moisture.
- Inspect visible harness routing for rub-through, pinching, or broken wiring.
- If wiring and connectors appear sound, have the lever potentiometer circuit tested using the correct Case IH service procedure.
- Replace or repair only components confirmed to be faulty.
If the lever potentiometer is confirmed failed, replacement may be required. However, do not assume the potentiometer is the cause without checking the circuit, because a wiring fault can produce a similar controller complaint.
When to Call a Dealer or Qualified Technician
Dealer support or a qualified technician may be required when:
- ARM 59 remains active after basic connector and harness checks.
- The 4th remote hydraulic function is disabled or unsafe to use.
- Live sensor data, calibration, or controller-level diagnostics are needed.
- There are multiple related electrical or hydraulic control codes.
- The repair requires disassembly of armrest control components.
Because this fault involves an electronic input to the armrest controller, proper diagnostic tooling can prevent unnecessary parts replacement and help confirm whether the issue is the potentiometer, wiring, connector, or controller input.
Safe Operating Notes
If the 4th remote valve function is not responding predictably, avoid using that hydraulic function until the issue is diagnosed. Unexpected hydraulic movement can create a safety hazard, especially when operating implements or attachments.
Always park the tractor safely, lower implements where appropriate, relieve hydraulic pressure according to the operator guidance, and follow lockout or safety procedures before inspecting electrical or hydraulic control components.